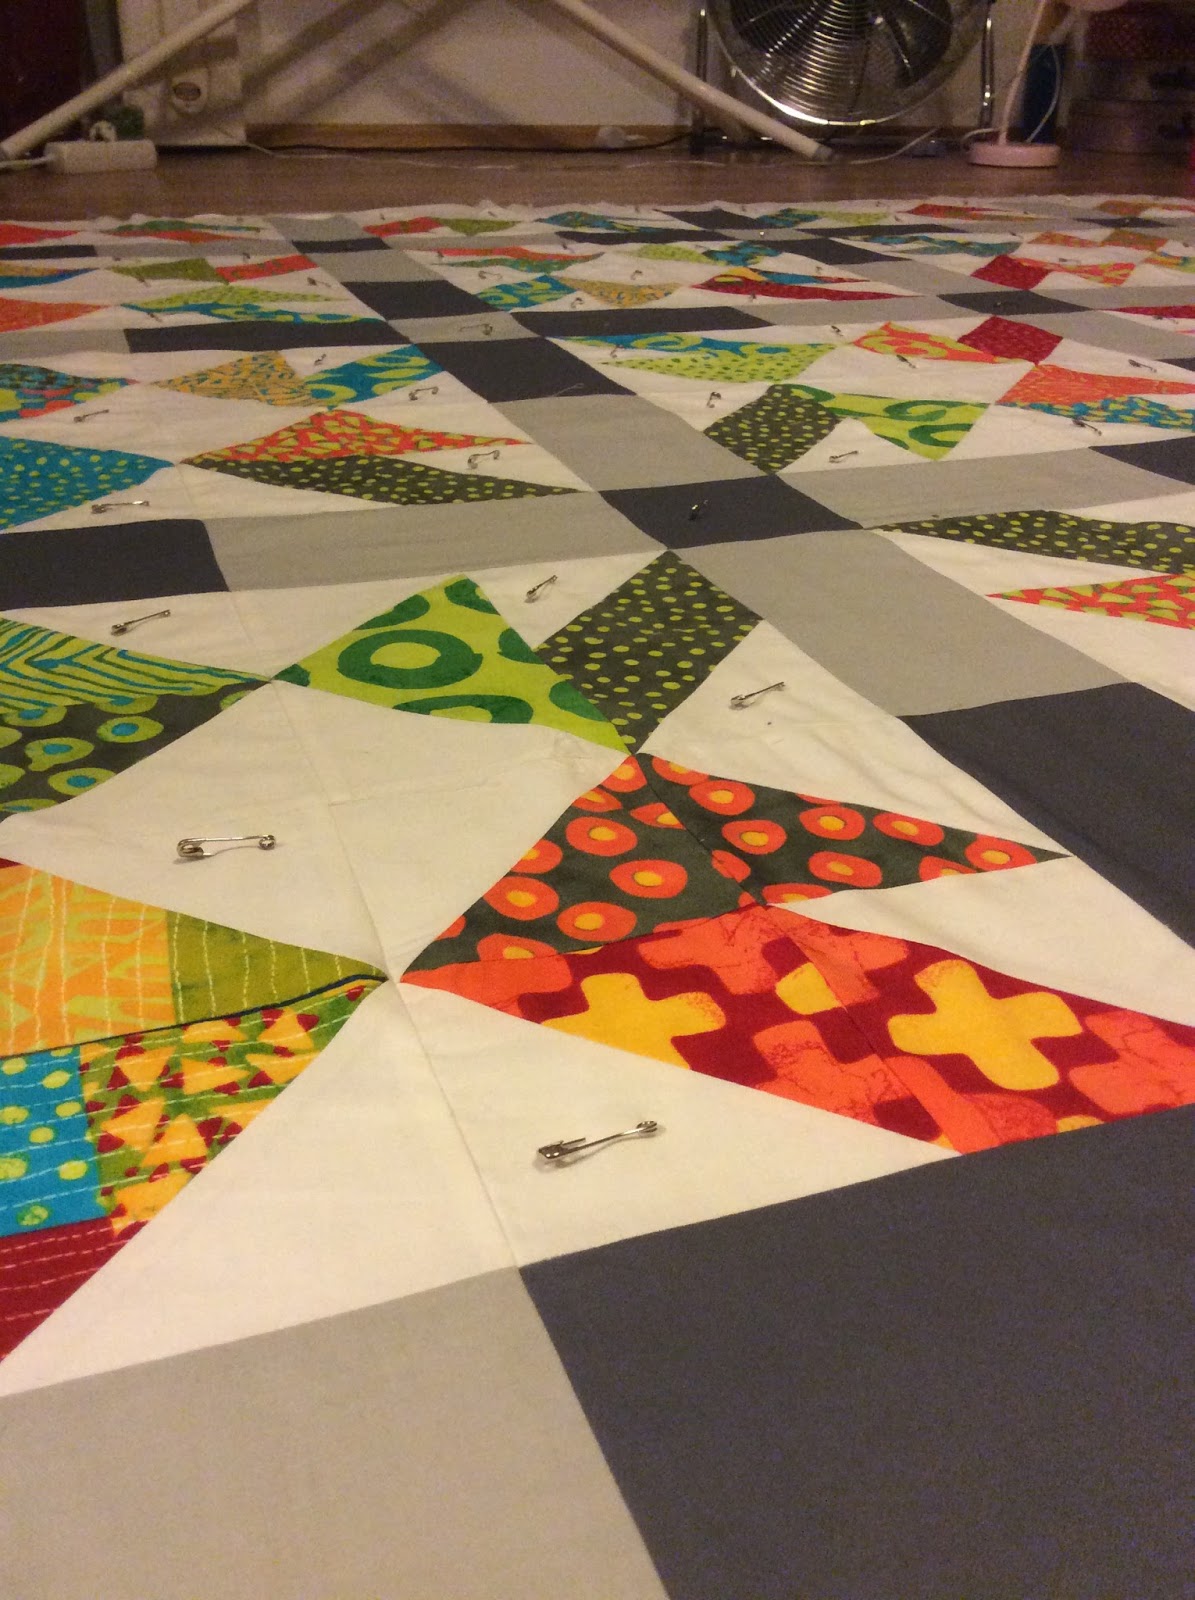
Hello, and welcome to my stop on the Cloud 9 New Block Blog Hop! It is my pleasure to bring you a brand new block tutorial using this gorgeous collection of cirrus solids from Cloud 9. There are over 60 participants who have created new block tutorials and I hope you visit all of them! A special THANKS to our hosts (who are also having giveaways)


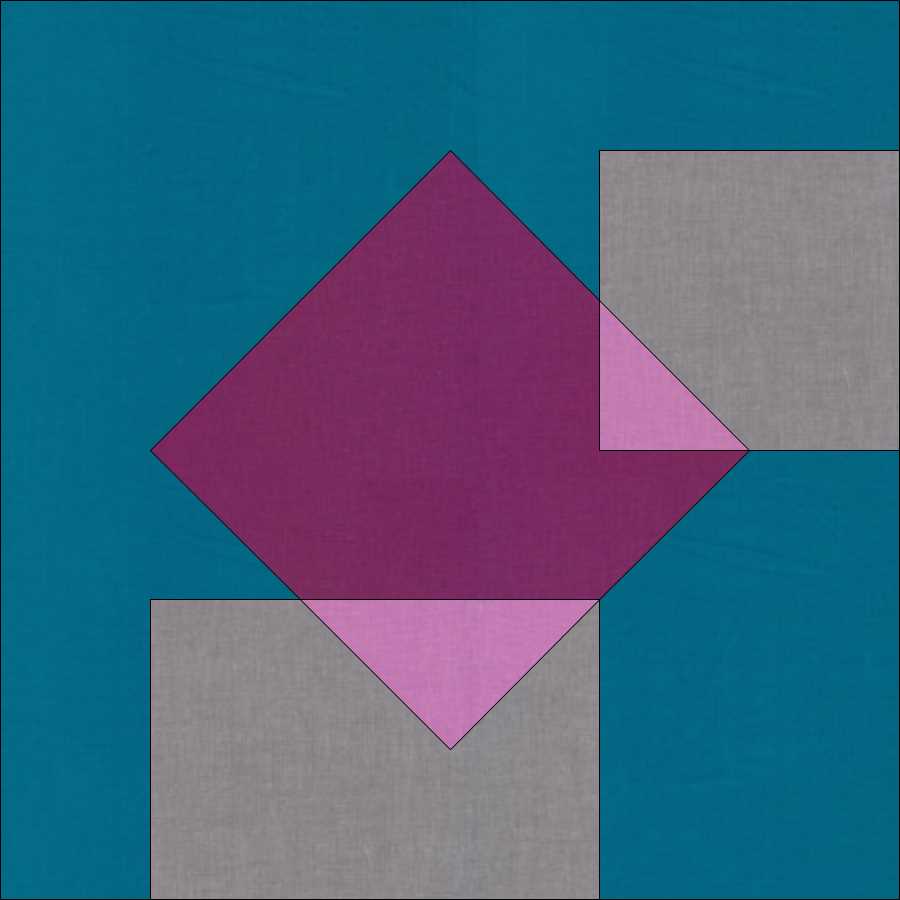
When I saw this color family, the first thing I thought of was playing with transparency, so that's what I've done, in a (hopefully) easy and fun way!
Through
the Glass Block

Materials Needed:

- · ¼” yard each: Cloud 9 Amazon, Shadow, Iris and Lilac. You will have plenty of fabric left for at least 2 more blocks.
- · Sewing machine
- · Cutting mat/ruler (Block-Loc ruler is helpful for trimming half square triangles)
- · Rotary cutter/scissors
- · Frixion (or other) marking pen
Block Instructions
Step
1: Cut

Amazon (background)
(1) 2.5
x 2.5”
(4) 2.5 x 4.5”
(3) 4.5 x 4.5”
(1) 3 x 3”
Shadow
(1)
2.5 x 2.5”
(1)
4.5 x 4.5”
(3)
2.5 x 4.5”
Iris
(1) 3 x 3”
(2) 4.5 x 4.5”
Lilac
(1)
4.5 x 4.5”
Step
2: HST Time!
We need to make half square
triangles by two different methods. I like to chain piece, so I arranged all my
squares, sewed them all, and then trimmed them.
1.
Pair the Amazon and Iris 3” squares right sides together to make a traditional
HST. Draw a diagonal line and sew ¼” away from either side of the line. Press,
cut on the line, press one HST open and then trim it to 2.5”.
2. Pair the Amazon and Iris 4.5” squares right sides together
and pin.
Pair
the Lilac and Shadow 4.5” squares right sides together and pin.
Sew
both all the way around the square ¼” from edge.

3. Press, then cut diagonally both ways. (A rotating cutting
mat works great for this.)

4. Press the HSTs open and trim to 2.5”. I used my 2.5”
Block-Loc ruler and it speeds things along nicely!

This leaves us with
(5) Amazon/Iris HSTs and (3)
Lilac/Shadow 2.5” HSTs. One Amazon/Iris HST and one Shadow/Lilac HST are
scraps.

Step 3: Sewing Part 1
(again I did all the
pairing and then chain pieced this step)

1. Pair 2 sets of Amazon/Iris HSTs together as shown and sew
RST (right sides together.)

2. Pair 2.5” Amazon square with Amazon/Iris HST as shown and
sew together

3. Pair 2.5” Shadow square with Shadow/Lilac HST as shown and
sew together.

4. Pair 2 Shadow lilac HSTs together and sew as shown.

Step
4: Sewing Part 2
1. Pair the 2 Amazon/Iris HST units with Amazon 2.5” x 4.5”
rectangles as shown and sew together along
long edge.

2. Pair the 2 Shadow 2.5” x 4.5” rectangles with the Amazon
2.5” x 4.5” rectangles and sew
together along long edge.

3. Pair the Shadow/Lilac HST set with Shadow 2.5” x 4.5”
rectangle and sew together.
4. Pair the Shadow/Lilac HST unit with Amazon Iris HST unit
and sew together

5. Press all units open
Step 5:
Arrangement
Arrange your block pieces as
shown and sew together into 3 rows and then join the rows together.

Result: A
12.5” “Through the glass” quilt block... in the sunshine, through the window and all mixed up!


Thank you for visiting and don't forget to visit all the other fantastic participants!
Kathy @Kathys Kwilts and More
Paige @Quilted Blooms
Mary @Strip Quilts Pass it On
Allison @Woodberry Way
Seven @The Concerned Craft
Olusola @Alice Samuel’s Quilt Co.
Ann @Brown Paws Quilting
Jodie @Persimmon + Pear
Vicki @Orchid Owl Quilts
Kitty @Night Quilter
Shelley @The Carpenter’s Daughter who Quilts
Jayne @Twiggy and Opal
Geraldine @Living Water Quilter
Shannon @Shannon Fraser Designs
Lisa @Sunlight In Winter Quilts
Jessica @Quilty Habit
Cassandra @The (not so) Dramatic Life
Deanna @Stitches Quilting
Denise @Craft Traditions
Paige @Quilted Blooms
Mary @Strip Quilts Pass it On
Allison @Woodberry Way
Seven @The Concerned Craft
Olusola @Alice Samuel’s Quilt Co.
Ann @Brown Paws Quilting
Jodie @Persimmon + Pear
Vicki @Orchid Owl Quilts
Kitty @Night Quilter
Shelley @The Carpenter’s Daughter who Quilts
Jayne @Twiggy and Opal
Geraldine @Living Water Quilter
Shannon @Shannon Fraser Designs
Lisa @Sunlight In Winter Quilts
Jessica @Quilty Habit
Cassandra @The (not so) Dramatic Life
Deanna @Stitches Quilting
Denise @Craft Traditions